Contacts Block

The Contacts block is a re-usable block of contact information that can be pulled into pages throughout the website.
A block is a special type of asset that does not include design or formatting, it is only information. It is formatted when it is pulled into a page (the page formats and styles the information). Also, blocks are not published. Their information is visible on the Molloy University website when pages into which they are pulled are published.
The block holds up to two sets of contact information (Contact Groups), with each set including up to two sets of contact information and a heading. The two sets of contact information includes fields for the following:
- Name
- Location (building, room number, etc.)
- Address
- City, State, and ZIP Code
- Phone Number (actionable link on the website)
- Email Address (actionable link on the website)
Pages into which the Contacts block can be pulled
The Contacts block can be pulled into the following page types:
- Program Detail
- Event Detail
- Standard Level
Where the Contacts blocks are stored in the site tree
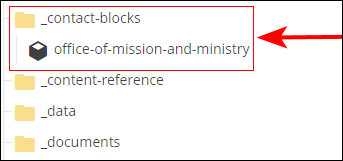
The Contacts blocks are stored in the _contact-blocks folder in the site tree. The CMS supports placing the blocks in any folder in the site tree. However, placing them within a single location makes management of the blocks easier, makes them easy to find and use for all CMS users, and helps to prevent having multiple blocks with the same information.
How to create a new Contacts block
Contacts blocks are created using the same procedure as creating other types of content (folders, pages, files, etc.).
First, select the _contact-blocks folder in the site tree.

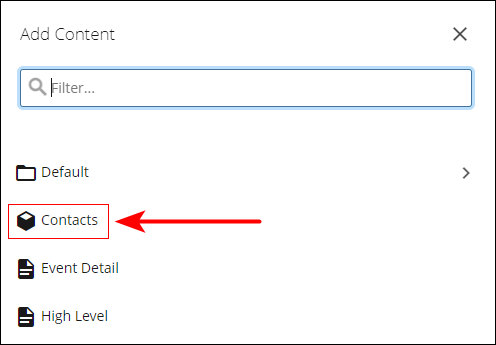
Then click Add Content in the CMS main navigation bar and select the Contacts asset factory.
The content entry panel for the new Contacts block opens. Since blocks are not accessed directly by website visitors (visitors see the information in the blocks when the blocks are pulled into website pages) the name of a block does not need to adhere to the naming rules that pages, folders, and files need to adhere to. So, the name can include capital letters, spaces, etc. However, it is recommended that the same naming convention is used to maintain consistency within the site tree.
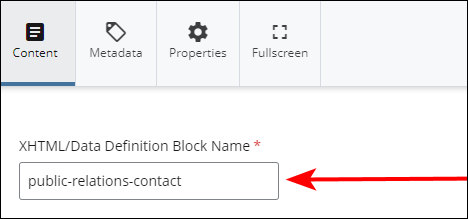
Enter the contact information into the block.
The content of the first Title field is used to identify the block within the CMS. The second Title field is displayed above the contact information on the website.
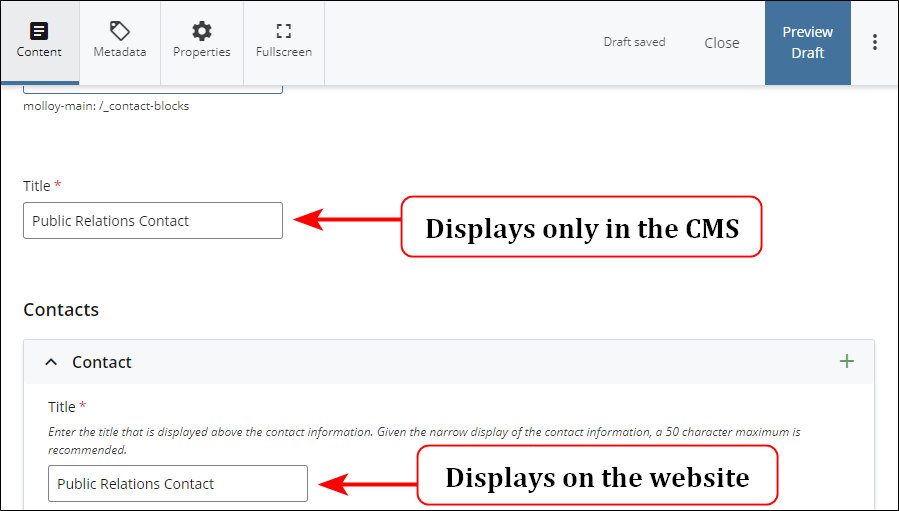
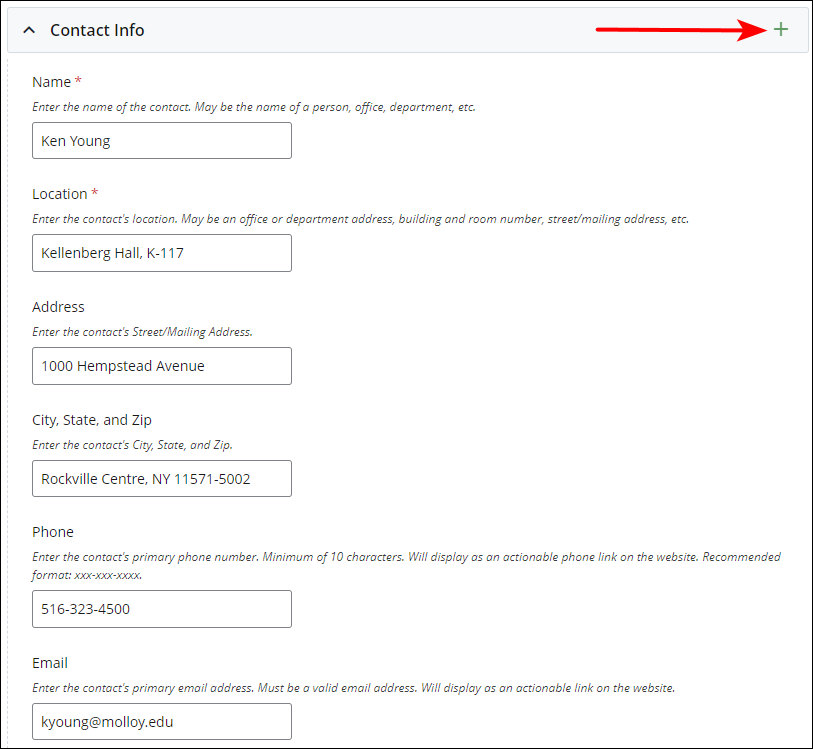
The contact information is entered into the fields in the Contact field group. Use the "+" icon to a second set of contact information fields if needed.
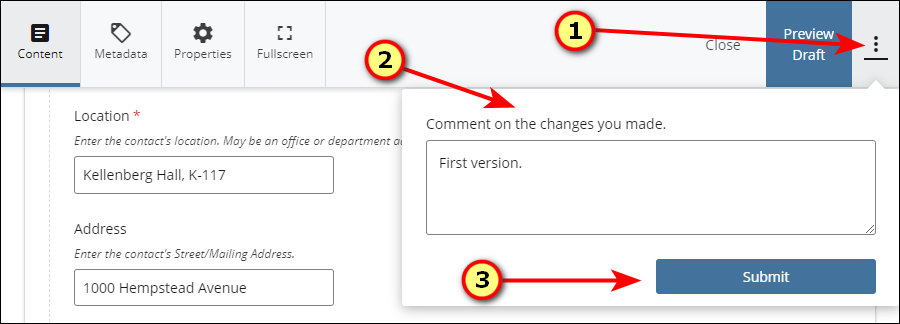
After checking and confirming the accuracy of the contact information, submit the block to save it and add it to the site tree by clicking the "three dots" icon, entering a description of the content added into the comments field (optional), and then clicking the Submit button.
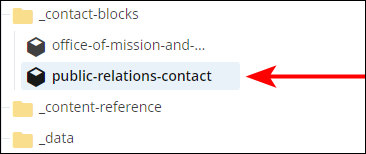
After submission, the new Contacts block appears in the site tree in the _contact-blocks folder.
Adding a Contacts block to a website page
Contacts blocks are added to website pages that include a Contact page option.
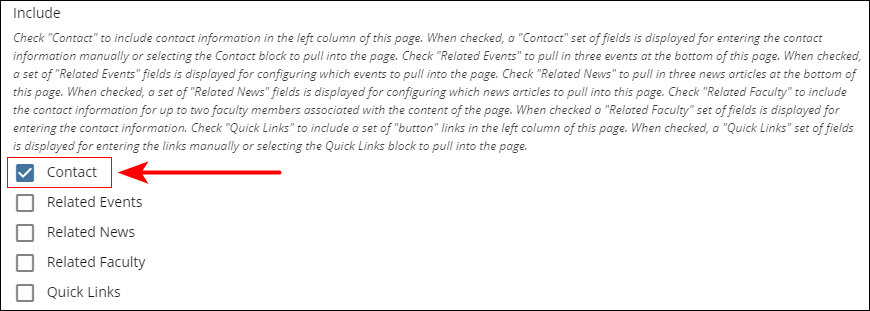
To add a Contact block to a website page, enable the Contact page option by checking the Contact check box.
A Contact Option selector field displays. Select the Choose Block option.

A Contact Block Chooser field group displays. Use the chooser field to select a Contacts block from the _contact-blocks folder to pull into the page.
Up to two Contacts blocks can be pulled in. Use the "+" icon to add a second chooser field to select the second block to pull into the page.

The chooser fields populate with the selected block(s).
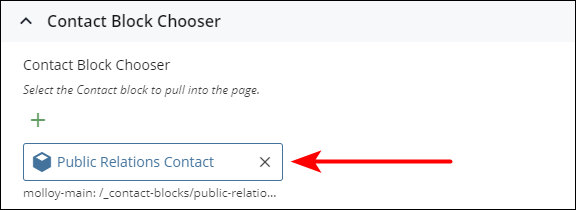
When the Contacts block is pulled into a page, the content of the block is formatted by the page and is visible in Page Preview in the CMS. This enables you to check the content and to see how the information displays on the page.
On Program Detail and Standard Level page types, the Contacts block displays in the left side rail (left column) of the page.
Program Detail
Standard Level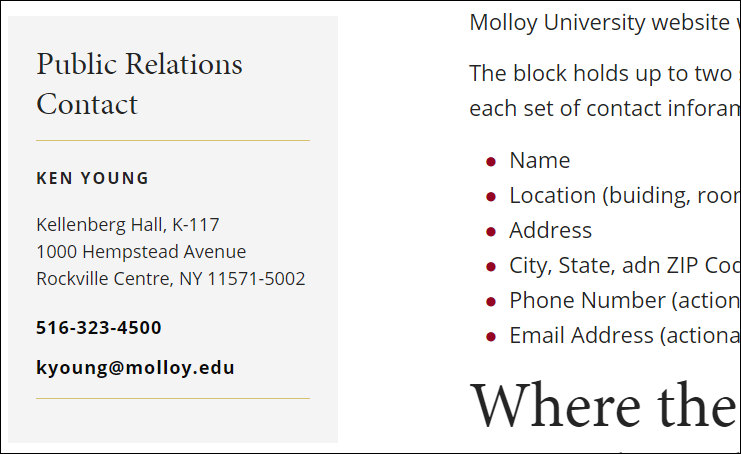
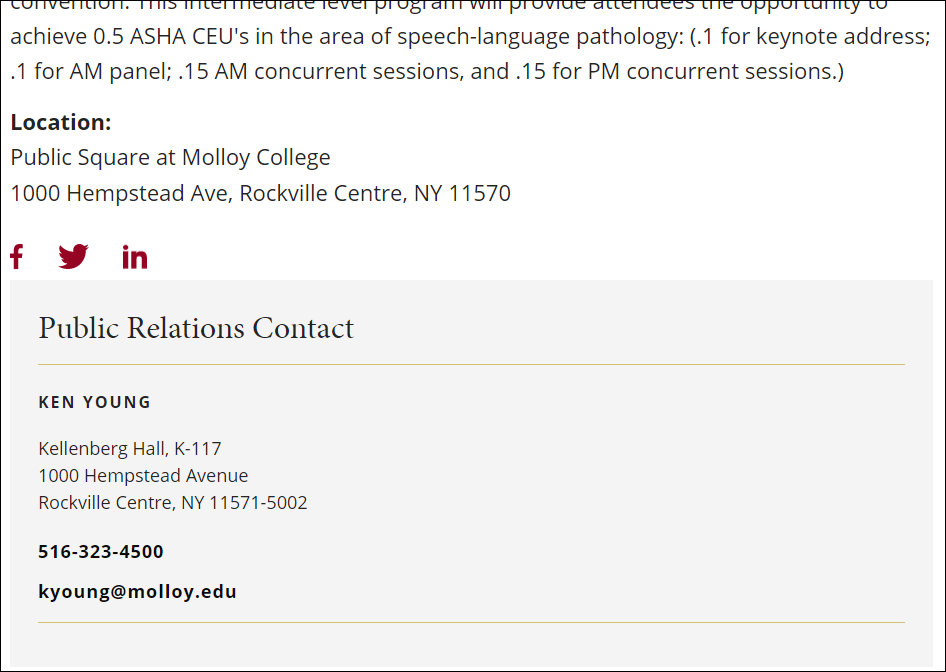
On the Event Detail page, the Contacts information is below the main content of the page.
Updating the information in existing Contacts blocks
Contacts blocks are opened and edited in the same way as website pages. Changes have to be submitted (in the same way as website pages) to be eligible to be published to the website.
Changing the ordering of the Contact Groups
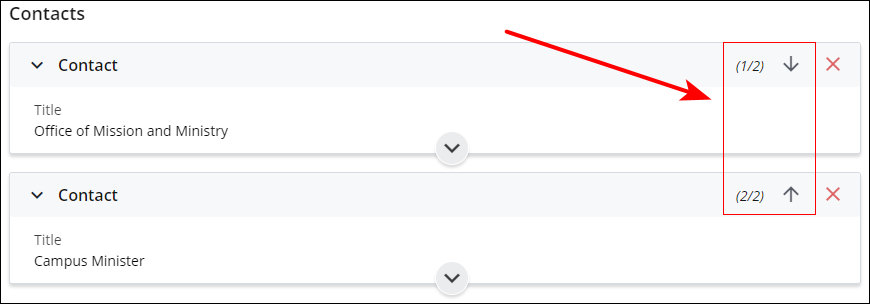
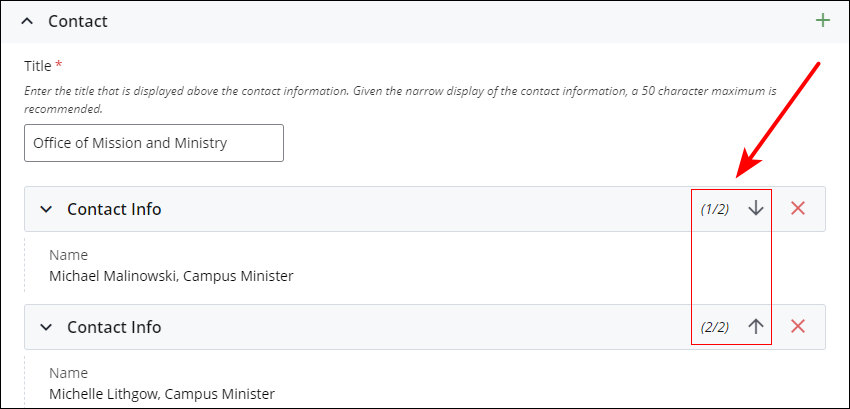
To change the vertical ordering of the Contact Groups, use the Up and Down arrows.
Changing the ordering of the contact information within a Contact Group
To change the vertical ordering of the two sets of contact information within a Contact Group, use the Up and Down arrows.
Deleting a Contact Group or contact information from a Contacts block
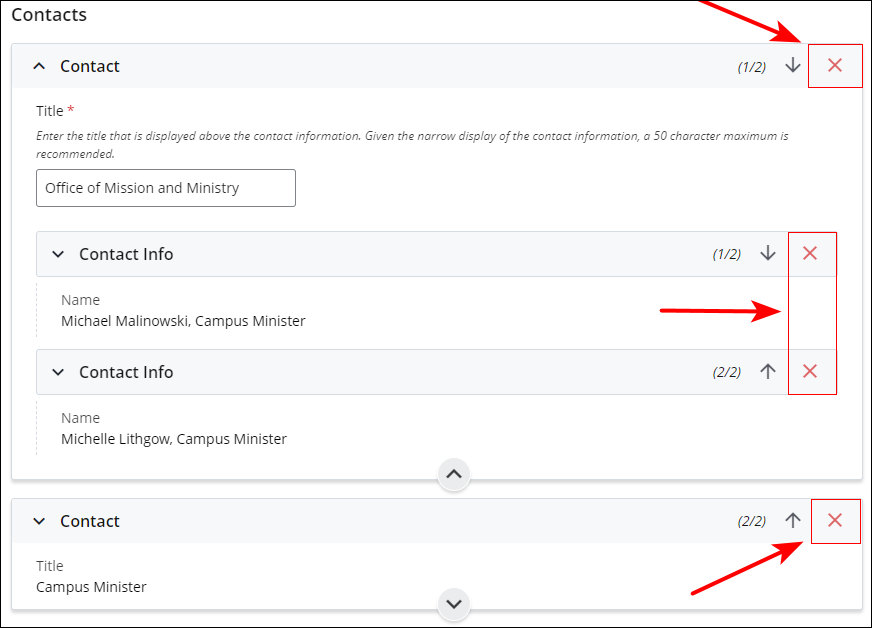
To delete a Contact Group or contact information from a Contacts block, click the "X" icon in the Contact bar (for a Contact Group) or Contact Info bar (for contact information) that holds the item you wish to delete.
IMPORTANT: The Contact Group or Contact Info is deleted immediately after the "X" icon is clicked. The CMS does not provide a confirmation step prior to deleting.
Publishing updates to existing Contacts blocks
To publish updates to a Contacts block to the website (this includes changes to the information, to the ordering of the Contact Groups and contact information, and adding and deleting groups and information), the pages into which the Contacts block is pulled must be republished. This is necessary since blocks cannot be published directly.
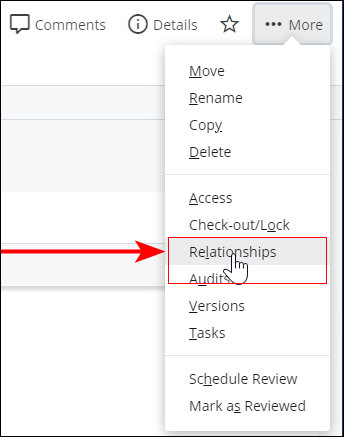
To determine which pages are using the block and need to be republished, select the block in the site tree and then click the More link near the top-right of the screen and select the Relationships option.
This opens a panel that displays a list of the pages that are using the Contacts block.
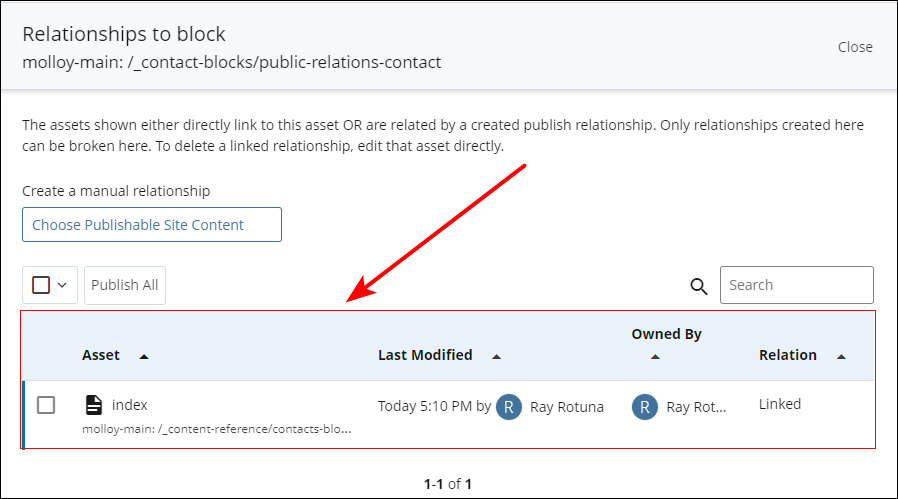
Click the Publish All button to publish all of the pages that use the Contacts block. If the Contacts block is heavily used, the list of pages that use the block may be broken out into several pages. In this case, you will need to click the Publish All button for each page.

Deleting a Contacts block
Contacts blocks are deleted using the same procedure used when deleting folders, pages, and files. When deleting a Contacts block, if the block is still used on any pages on the website, the CMS displays a warning message indicating how many pages are using the block.

Click the More Details link in the warning message to view a list of the pages using the Contacts block.
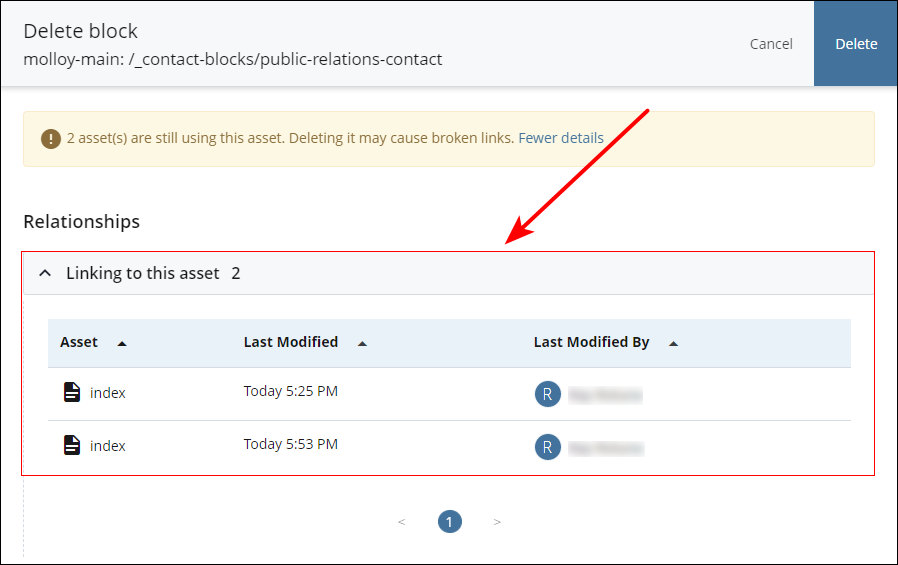
Record the locations of the pages, open them for editing and remove the block, then republish the page. After the Contacts block has been removed from all pages, delete the block.
IMPORTANT: While the pages using the block will not error if the Contacts block is deleted without being removed from them, not removing the block may cause gaps or presentation issues on the pages. Also, removing the block from the pages maintains orderly site content by keeping the website pages from having references to assets that no longer exist.
Contacts Block Example
An example of the Contacts block is in the left column of this page, below the navigation.
Academic Support Services
Tutoring Services
Casey Building, C012
1000 Hempstead Avenue
Rockville Centre, New York 11571-5002
Writing Center
Casey Building, C016
1000 Hempstead Avenue
Rockville Centre, New York 11571-5002